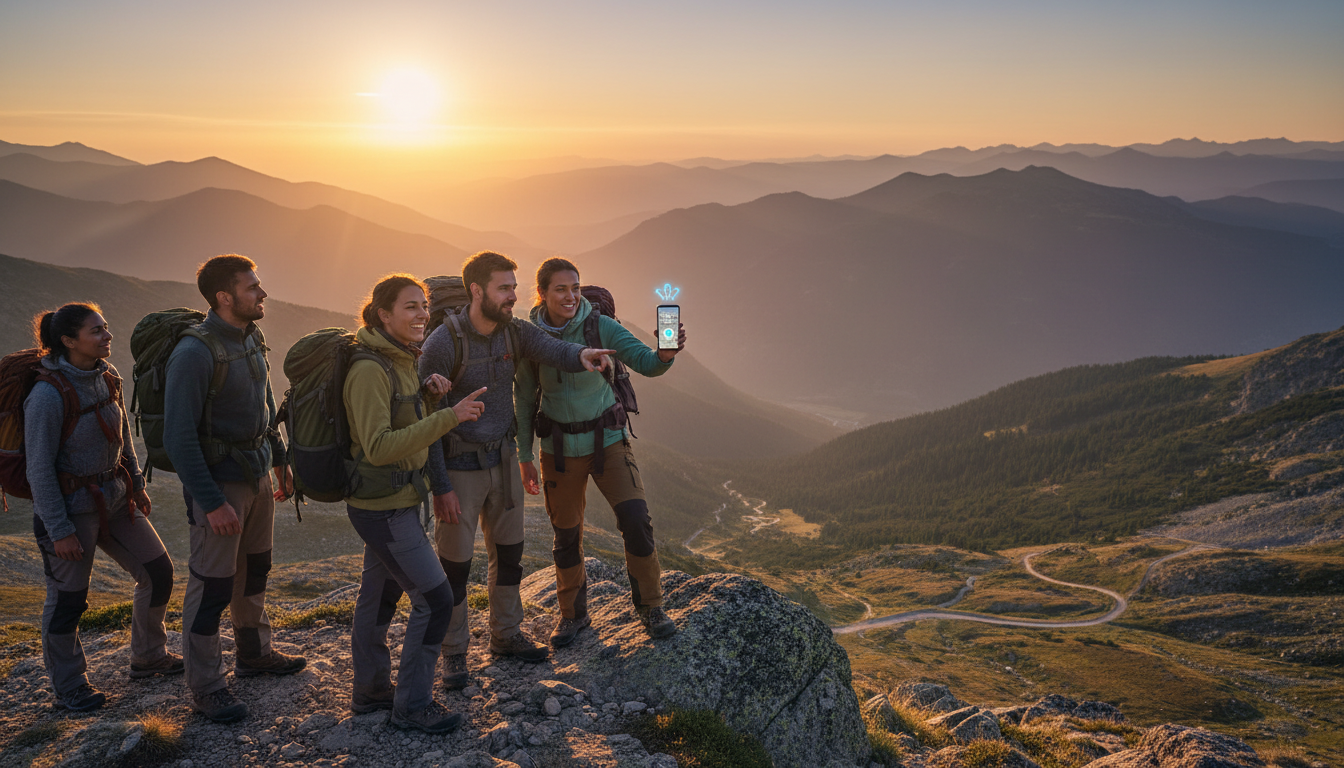
You can learn how to take better photos with your phone by cleaning your lens, enabling gridlines for better composition, and tapping the screen to manually set focus and exposure. Avoiding digital zoom and utilizing HDR mode will further enhance image clarity; these simple techniques help anyone capture professional quality shots in any environment.
We have all experienced the frustration of witnessing a breathtaking Sanpete County sunset, only to have the resulting photo appear grainy, dim, or poorly composed. It is a common struggle; the equipment in your pocket is incredibly powerful, yet it often fails to capture the vibrancy of rural Utah without the right technical approach. Because your smartphone is likely your primary tool for documenting life, mastering its nuances is the difference between a cluttered camera roll and a collection of genuine art. In this guide, we will explore practical strategies to elevate your mobile photography. You will learn the critical importance of lens maintenance, how to manipulate exposure and HDR for tricky lighting, and the best ways to photograph the people and pets that make Sanpete home. Let us transform your phone into a professional grade creative tool.
Mastering Smartphone Photography in the Heart of Utah

Sanpete County offers some of the most striking visuals in Utah. From the crisp, historic architecture of the Manti Temple to the deep oranges of a sunset over Horseshoe Mountain, there is always a scene worth capturing. While professional DSLRs produce beautiful results, the best camera for any given moment is the one you already have in your hand. Most modern smartphones are equipped with incredible hardware, but many users only scratch the surface of what their devices can actually do.
Learning how to take better photos with your phone is less about buying new equipment and more about mastering simple habits, adjusting specific settings, and understanding light. This guide is a dedicated resource for our Sanpete neighbors who want to document family gatherings or the local landscape with more precision. At All Things Phones, we often assist customers through device setup and support services, and we have found that a few small adjustments can make a massive difference in image quality. By focusing on the unique lighting and environment of our valley, you can turn a standard snapshot into a professional looking photograph. Whether you are out in the fields or at a high school football game, these practical tips will help you get the most out of your mobile hardware.
The Most Important Step: Clean Your Lens
Before diving into software adjustments, you must address the physical state of your device. The most frequent answer to the question, Why is my phone camera blurry all of a sudden?, is actually the simplest: a dirty lens. Throughout the day, our phones collect fingerprints, facial oils, and pocket lint. In Sanpete County, we also deal with fine dust from farm roads and open fields that settles onto the glass. This residue creates a hazy, soft-focus effect that ruins the sharpness of your images.
To learn how to take better photos with your phone, start by using a clean microfiber cloth to wipe the lens before every session. Avoid using your shirt or a paper towel; these materials are often abrasive and can eventually cause micro-scratches on the lens coating. Investing in protective accessories like a case with a raised bezel also helps prevent the glass from making direct contact with dusty surfaces when you set your device down in the shop or out at the farm.
Essential Phone Camera Settings for Better Pictures

Once the lens is clear, the next step in learning how to take better photos with your phone is optimizing the software. Most smartphones ship with several helpful features disabled by default. Enabling these can immediately improve the composition and quality of your shots.
Start by turning on your camera's gridlines. On an iPhone, go to Settings, scroll down to Camera, and toggle the Grid switch to on. For Android users, open the Camera app, tap the settings icon (usually a gear), and look for Grid lines. This overlay divides the screen into nine rectangles using two horizontal and two vertical lines.
This grid is the foundation for the Rule of Thirds. Instead of placing your subject directly in the center of the frame, place them at the points where these lines intersect. For a landscape shot of the Sanpete Valley, try aligning the horizon with the bottom horizontal line to emphasize the vast Utah sky, or with the top line to focus on the textures of the valley floor. Placing a subject, like a person or a prominent tree, along one of the vertical lines creates more visual interest than a centered composition.
Understanding your aspect ratio is equally vital for image quality. Most phones allow you to switch between 4:3 and 16:9.
Aspect Ratio | Best Use | Key Benefit |
|---|---|---|
4:3 | General photography and printing | Uses the full resolution of the camera sensor. |
16:9 | Cinematic landscapes | Offers a widescreen view, but usually crops the image. |
1:1 | Social media | Ideal for square formats like Instagram. |
Stick to the 4:3 ratio for the highest resolution possible. While 16:9 looks impressive on your phone’s screen, it essentially just crops the top and bottom of a 4:3 image, meaning you lose data. Finally, avoid using digital zoom. Pinching the screen to zoom in on a distant subject simply enlarges the existing pixels, resulting in a grainy, low quality image. It is always better to physically move closer to your subject or take the photo at the standard distance and crop it later in your gallery app. If you have trouble finding these settings on your specific device, you can always contact All Things Phones for a quick walkthrough.
Managing Light: Focus, Exposure, and HDR
Managing the way your device interacts with light is the quickest way to move beyond basic snapshots. Even with your gridlines active and your lens clean, the phone’s automatic sensors can sometimes misinterpret a scene. To take control, tap your subject on the screen before pressing the shutter button. This action tells the camera exactly where to focus. Once you tap, a yellow box on an iPhone or a circle on an Android will appear. Next to this icon is a brightness slider; on an iPhone, it looks like a small sun. Sliding your finger up or down allows you to manually dim or brighten the shot. This is particularly useful in our local environment when you want to capture the detail in a dark barn without overexposing the bright sky behind it.
Another essential tool for mastering how to take better photos with your phone is High Dynamic Range, commonly known as HDR. In Sanpete County, we often face high-contrast lighting where the midday sun is incredibly bright, but the canyons or valley floors are draped in deep shadows. HDR works by taking several photos at different exposure levels and stitching them together into one image. This process ensures that both the clouds in the sky and the textures on the ground remain visible.
Feature | Function | Best For |
|---|---|---|
Manual Exposure | Manually brightens or darkens the frame. | Backlit subjects or snowy scenes. |
Focus Lock | Keeps a specific object sharp. | Close-ups and moving subjects. |
HDR | Balances light and dark areas. | High-contrast landscapes and sunsets. |
For most users, leaving HDR on Auto is the best strategy. Modern processors are intelligent enough to detect when a scene needs that extra balance. If you find your photos consistently look too dark or blown out despite these adjustments, we offer device setup and support services to ensure your camera software is functioning correctly and updated to the latest version.
Capturing Sanpete Landscapes and the Golden Hour
The Golden Hour occurs during the first hour of light after sunrise and the last hour of light before sunset. In Sanpete County, this timing is magic because the low angle of the sun casts long shadows across the valley floor and creates a warm glow against the textures of the mountains. The harsh midday glare that often washes out colors disappears, replaced by a soft light that makes the natural landscape appear more vibrant without the need for digital filters.
To truly capture the massive scale of the peaks surrounding our towns, you must include a foreground element in your shot. A photo consisting only of distant mountains often looks flat and fails to convey their true size. By placing a weathered fence post, a local cedar tree, or even a person in the bottom third of the frame, you provide a point of reference that gives the viewer a sense of depth. This technique is a fundamental part of learning how to take better photos with your phone, as it transforms a simple snapshot into a layered, professional composition.
Always disable your flash when photographing the outdoors. A smartphone flash only reaches about ten feet. Using it for a landscape shot will only illuminate the dust particles or insects directly in front of your lens while leaving the mountains underexposed. If your device struggles with the transition from day to night, we offer device setup and support services to help you optimize your low light settings for better clarity.
How to Take Better Photos of People and Pets
Capturing the people and pets in your life requires a different approach than shooting a mountain range. To learn how to take better photos with your phone when people are the focus, start using Portrait Mode. Most modern devices available at our shop use advanced software to create a "bokeh" effect; this is the professional looking blur that softens the background while keeping your subject perfectly sharp. It is an excellent tool for isolating a family member during a backyard barbecue or a pet playing in the grass, as it removes distracting background elements.
When photographing children or animals, avoid the instinct to stand tall and point the camera downward. Instead, physically drop down to their eye level. This change in perspective creates a more intimate and engaging portrait that makes the viewer feel like they are part of the subject's world. This simple posture adjustment is often the difference between a generic snapshot and a memorable keepsakes.
If you find your selfies are often soft or out of focus, the culprit is usually the front-facing camera lens. This glass collects facial oils every time you take a phone call. Wipe it clean with a microfiber cloth before shooting. Additionally, remember to look directly at the small camera lens hole rather than your own reflection on the screen. This ensures you appear to be making eye contact with the viewer. If your camera software feels laggy or the focus seems off, we can help with device setup and support services to get your hardware performing at its best.
Troubleshooting: Why Are My Phone Photos Blurry?
If your images remain hazy despite cleaning the lens, the issue likely stems from camera shake. This is especially prevalent during indoor gatherings or late evenings in the valley when the camera sensor requires more time to pull in light. When the shutter stays open longer to compensate for darkness, even a tiny hand tremor creates noticeable motion blur. To improve stability, tuck your elbows tight against your ribs to create a human tripod or lean against a solid object like a fence post or wall. For long exposure shots of the night sky, using a small tripod or a dedicated phone mount is the most reliable way to ensure total clarity.
Sometimes, the problem is physical rather than technical. Check your protective accessories to ensure the case is not slightly overlapping the lens or blocking the laser autofocus sensors found on newer high end models. If the camera refuses to focus on any subject regardless of the lighting, you may be facing a hardware failure or a lens motor jam. If you have tried these steps and still want to know how to take better photos with your phone, bring your device to our shop. We provide device setup and support services to diagnose sensor issues and can often identify if a software glitch or internal damage is the culprit. You can also contact All Things Phones for expert advice on whether a repair or a device upgrade is your best path forward.